
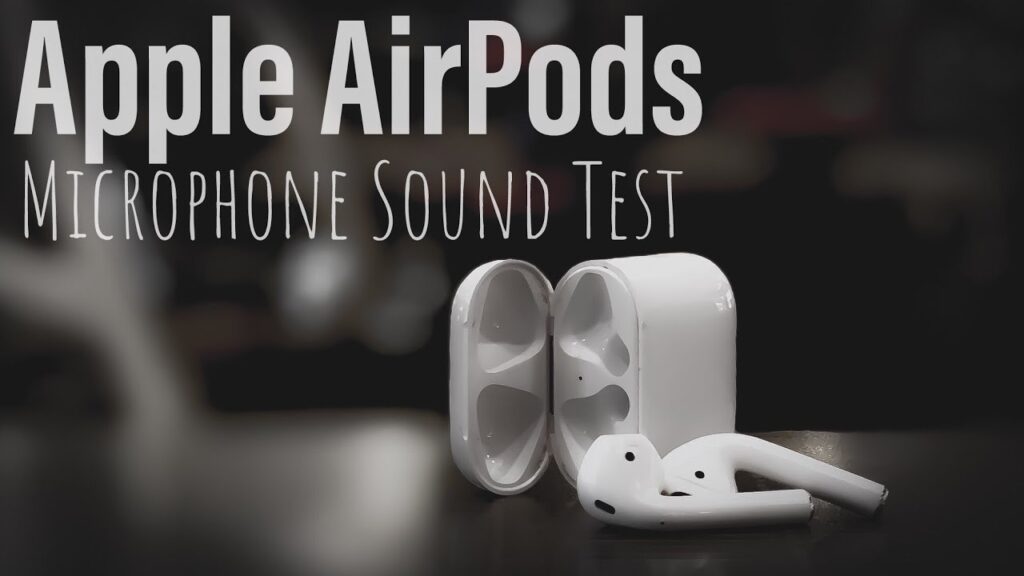
If you own Airpods, you must be familiar with the issues with the microphone. Sometimes the voice cuts out, which can get frustrating.
It can be because of the accumulation of dirt particles near the microphone holes or settings, which cannot utilize the premium audio quality offered by the Airpods.
Users can test their Airpods microphones to identify problems and fix them accordingly. In the article, we will discuss tips for troubleshooting your microphone in Airpods for any issues.
So, without waiting, let us get started.
Table of Contents
How Does the AirPods Mic Work?
Apple Airpods offer a rich audio experience by providing two in-built microphones to assist in recording or having a voice conversation. While one is near the base of the Airpods, we can see the second microphone on top of the Airpods as a trivial black hole.
We regard the microphone at the base as the primary or chief microphone that handles your voice communications. The second microphone cancels external noises for a better experience.
Also Checkout: https://theusstuff.com/best-ways-to-connect-airpods-to-surface-pro-2024/
Best Ways to Connect Airpods to Surface Pro 2024
Test Airpods Microphone with these steps
1. Connect AirPods to Your iPhone
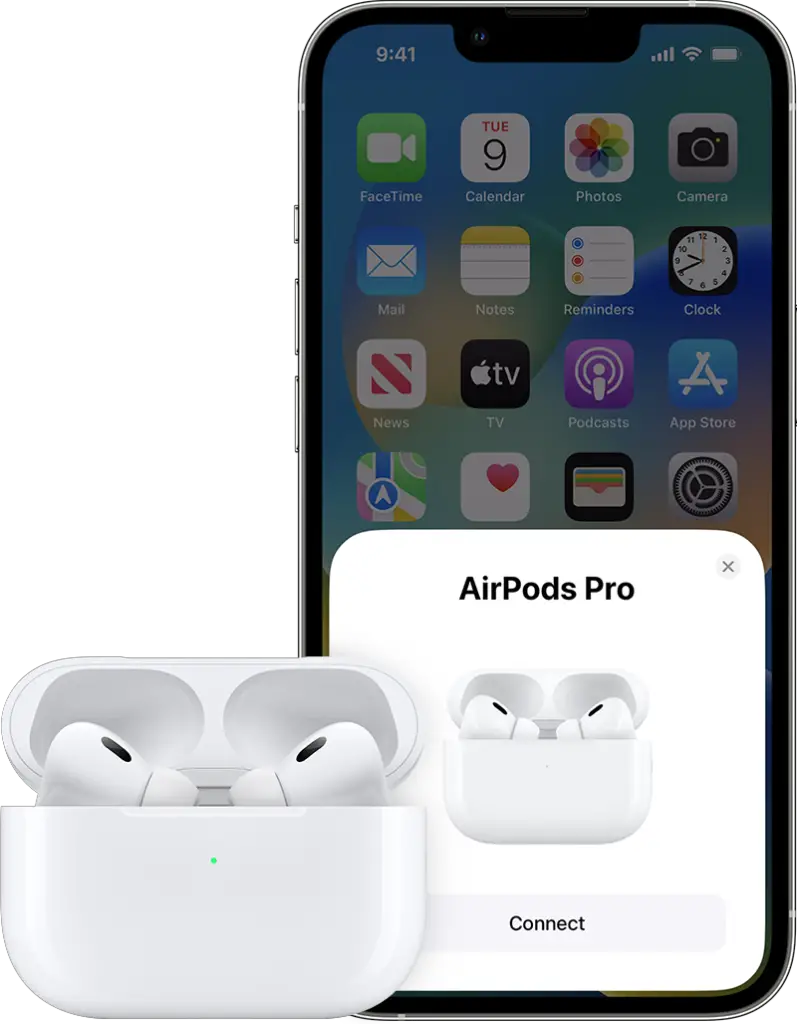
One of the primary ways of testing Airpods microphones is to pair them with iPhone. Make sure to charge your Airpods and connect them to the iPhone. If you do not own an iPhone, you can also try connecting to any android device using the Bluetooth settings.
2. Open Any Sound Recording App
We can test the quality of microphones using the sound recording app on your device. Locate the Voice Memos app in Extras for iPhone and use it to test the quality of the microphones. On the contrary, you can also open any sound recording application on your android device and test the microphone working on the Airpods.
3. Start Recording a Voice Memo
Users can test the microphones by recording themselves to check if there are any issues related to voice quality. To enable recording a voice memo, press the record button colored in red while having any voice interaction. It will give you a better understanding of the quality of the microphones in Airpods.
4. Listen to the Audio Recording
If you already have an existing audio recording from when you were using an Airpods microphone, you can use it for better understanding related to the microphone’s sound quality. Users can find out any issues, if there is any disturbance or if the recording showcases high or low voice patterns.
5. Try Talking on the phone with AirPods
Apple Airpods owners can also try testing the microphone of their audio sets by talking on the phone. The receiver can provide details regarding the voice quality, which can assess the problems in the microphone and fix them using the desired solutions. It is one of the most common ways to test the microphone quality of the Airpods.
6. Try to Call Up Siri
If you are still unsure regarding the quality of the microphone of the Airpods, you can try calling Siri to test the voice quality. If the response is satisfactory owing to various dynamic voice levels, the microphone works ideally. On the contrary, if you find any issues, you can tweak the sound settings for a more personalized experience.
If AirPods Microphone Not Working? Here’s What to Do
1. Put Your AirPods Back in the Case and Reconnect
If you face any issues pairing your Airpods with the device, you can try to put back the Airpods in the charging case and attempt to connect again. It can resolve the microphone issue caused because of a bug or any other reason.
2. Check the Battery
The microphone issue in AirPod may be due to the battery drain. Sometimes users forget to charge their Airpods and face working issues with the microphone. Therefore, check your battery level in Airpods, and if it is low, try charging the Airpods and reconnecting them to fix the working.
3. Clean the AirPods Microphones
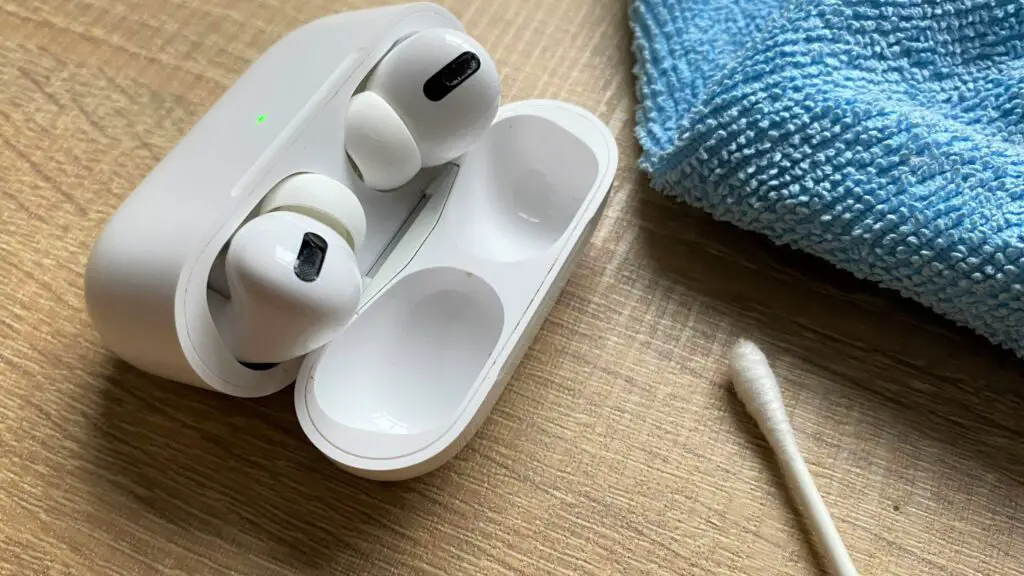
The microphone holes in the AirPod become home to dust particles, which get settled in and block the audio reception quality of the microphone. To fix it, try cleaning the Airpods microphone holes using a dry cotton swab to get rid of the dust accumulated.
4. Try Using Only One Microphone
Apple Airpods auto-configures itself and decides which microphone to rely on. If you face issues with the voice over the microphone, you can manually switch between the two microphones and select the one with better results.
Follow the steps to use only one microphone in Airpods.
- Navigate to the Bluetooth settings in your device.
- Press the “i” option next to the Airpods.
- Choose Microphone settings and select either left or right microphone based on your preference.
Once you have made the changes, try interacting or recording your voice using a sound recorder to see if the issue has been resolved. If not, move to the other tips featured in the list.
However, it is also crucial to state that choosing one microphone for the audio might hamper your experience as you will not be able to utilize the full functionality of the Airpods using a single microphone.
5. Check the Active Microphone Settings
Microphone settings are related to the configuration related to both microphones. Check the active microphone settings to ensure we adjusted the Airpods to use both microphones.
Navigate to the Bluetooth settings and choose the Airpods. Make sure to enable the automatic switch option to ensure we can exploit both microphones based on the performance and the voice quality.
6. Turn Off All Noise Cancellation (AirPods Pro and Max)
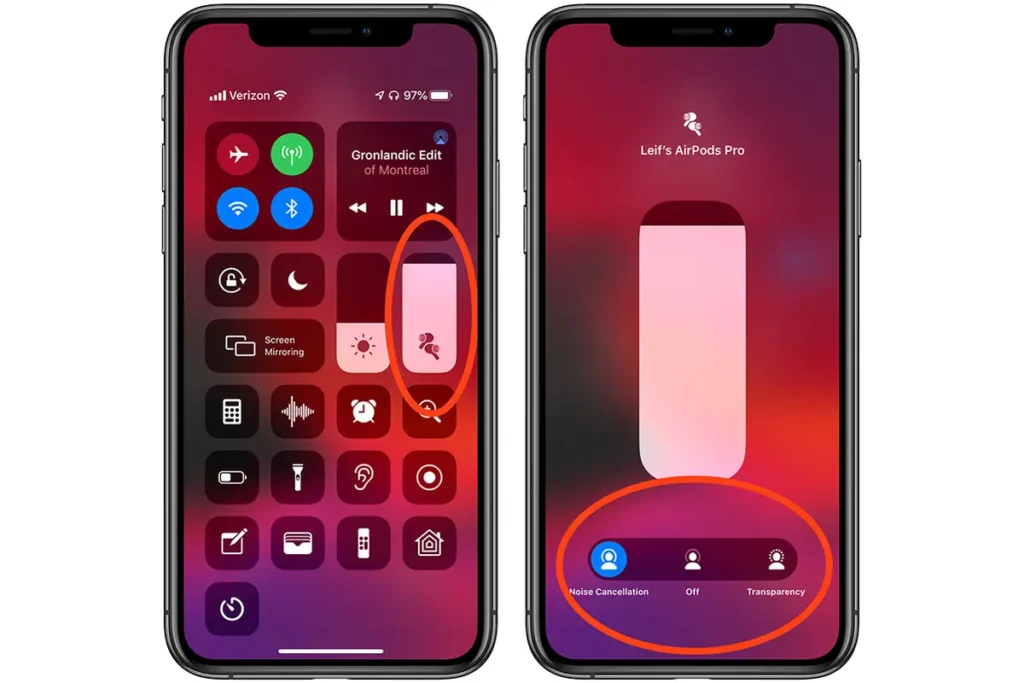
Apple Airpods Pro and Max allow users to reap the benefits of active noise cancellation. However, disabling the noise cancellation feature can contribute to improving your microphone audio quality experience.
Follow the steps to improve the microphone quality by turning off noise cancellation.
- Navigate to the Bluetooth settings in the device.
- Choose the Airpods and set noise cancellation to off for improved results.
7. Update the AirPods Firmware
The outdated version of the Airpods firmware may cause microphone issues that deteriorate the audio quality. To avoid this, users should update the Airpods firmware to the latest version to boost their audio quality.
Follow the steps to update the AirPods firmware.
- Navigate to Settings on the phone, followed by General>About>Airpods.
- If the system portrays an outdated version, you will have to update the firmware to the latest version to avoid microphone working issues in AirPods.
8. Reset Your AirPods
If you have tried every other way featured in the list and still can not resolve the issue with your microphone in Airpods, you may have to reset your Airpods to the default settings to fix the microphone issue.
To reset your Airpods, users will have to place the Airpods in their charging case and press the Status button until a light flashes. The light flash indicates that the Airpods have been reset. Try pairing them up again with your device and check if the microphone issue has been resolved.
FAQs
Why is my AirPod mic so low?
Users may experience low voice quality in their AirPod mic because of the low battery issue. Try charging the Airpods and trying the voice quality again.
It may also be possible due to the accumulation of dirt particles near the microphone holes. In such a case, clean up your microphone holes using a dry cloth.
Which AirPod has the best microphone?
Arguably Apple Airpods 2 seems to have the best microphone that provides a rich and mesmerizing audio experience.
Is AirPods mic noise Cancelling?
Yes, AirPods offer the feature to users to enable noise canceling to reduce the voices from nearby surroundings. However, we recommend disabling the noise canceling for better microphone quality in the Airpods. You can try microphone test at : https://restream.io/tools/mic-test#:~:text=You%20can%20test%20your%20AirPod,of%20a%20sound%20recording%20app.
Is AirPods mic better than the iPhone mic?
While the opinion would vary based on the preferences of users, a general comparison between the microphones implies that the Airpods mic delivers a better audio experience and is more efficient compared to the mic available in the iPhone.
Airpods also offer the option to enable noise cancellation, which improves the experience of the user in several cases.
Conclusion
This was everything you need to know regarding the microphone in Apple Airpods. The quality offered by the Airpods is better than other audio set options available in the market.
From audio to late-night movie sessions, Airpods play a crucial role in enhancing our experience by delivering quality audio. Most issues about the AirPod microphone are basic and do not require complex procedures. These issues can be fixed using the simple steps mentioned in the article.
We recommend cleaning up your AirPods using a dry cloth regularly to avoid dust accumulation. Furthermore, it is also ideal to have the AirPods charged before using them to rectify the low voice issue in microphones.
We hope you liked the article.
Keep Clashing!
Pingback: Best Microphone Locations on A Dell Laptop 2024? - theusstuff.com
Your point of view caught my eye and was very interesting. Thanks. I have a question for you.
Thank you for your sharing. I am worried that I lack creative ideas. It is your article that makes me full of hope. Thank you. But, I have a question, can you help me?
Your point of view caught my eye and was very interesting. Thanks. I have a question for you.